How to Setup Matamo in Ubuntu 22.04
Matomo, formerly known as Piwik, is a powerful and Free and Open Source web analytics platform that offers website owners a comprehensive insight into their online traffic, user behavior, and digital marketing effectiveness. Diverging from other analytics platforms, Matomo strongly emphasizes user privacy and ensures full data ownership for its users. This makes it an attractive alternative to solutions like Google Analytics, especially for those who prioritize data security and wish to have an on-premise analytics tool. This guide will walk you through the steps to seamlessly install Matomo on an Ubuntu server, enabling you to harness its capabilities and take control of your web analytics journey.
Step-by-Step Guide to Install Matomo on Ubuntu 22.04
Pre-requisites
- A system with Ubuntu 22.04 installed and running. [In our case, We have used a Linode VPS with the specification of 4 GB RAM / 2 CPU / 80 GB disk/ Ubuntu 22.04 OS.]
- Root access to the system.
Matamo installation and configuration
Matomo requires a webserver, PHP, and MySQL database to function.
Environment Setup
Step 1: Create the user account to setup the virtual host and home directory for Matomo
sudo useradd -s /bin/bash -d /home/matomo -m -G sudo matomoStep 2: Install the required software
sudo apt updatesudo apt install apache2 mysql-server-8.0 php-8.1 php8.1-curl php8.1-gd php8.1-mysql php8.1-xml php8.1-mbstringStep 3: Set root password for MySQL
sudo mysqlALTER USER 'root'@'localhost' IDENTIFIED WITH mysql_native_password BY '$STRONGPASSWORD';Step 4: Create the required database user and database for setting up the Matomo
mysql -uroot -pcreate database matomodb;create user 'matomodu'@'%' identified by '$PASSWORD';grant all privileges on matomodb.* to 'matomodu'@'%';Step 5: Create the virtual host in Apache
/etc/apache2/sites-available/matomo.confAdd the following the lines to the apache configuration file
<VirtualHost *:80>
  ServerAdmin webmaster@localhost
  ServerName $DOMAINNAME
  DocumentRoot $PATH
  ErrorLog ${APACHE_LOG_DIR}/error.log
  CustomLog ${APACHE_LOG_DIR}/access.log combined

  <Directory "$PATH">
    Options Indexes FollowSymLinks MultiViews
    AllowOverride All
    Require all granted
  </Directory>

RewriteEngine on

</VirtualHost>
Step 6: Create a new user account in the name 'matomo' and set the home directory
sudo useradd -s /bin/bash -d /home/matomo -m -G sudo matomoStep 7: Switch to the user and create the web and log folders
sudo su matomocd /home/matomomkdir web mkdir logsStep 8: Download the latest version of Matomo and extract the zip archive to the web folder
wget https://builds.matomo.org/matomo.zipunzip matomo.zip Matomo installation
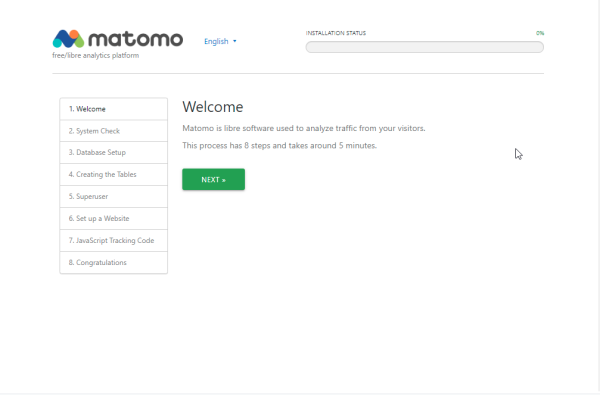
Step 1: Open the domain you have configured in the virtual host file in a browser and you will get the Matomo welcome screen.
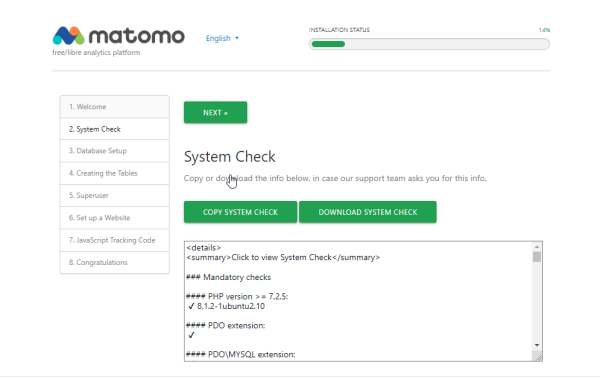
Step 2: System Check to check the server requirements
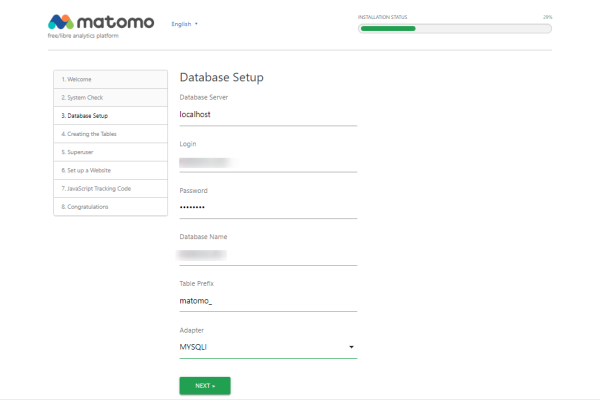
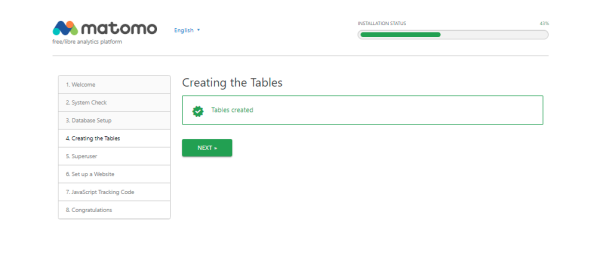
Step 3: Provide the Database details during the installation steps
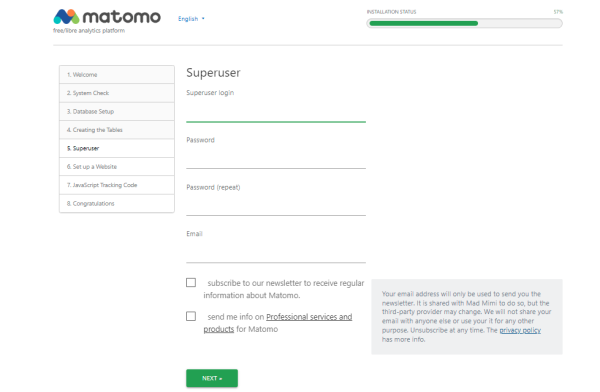
Step 4: Provide the Superuser login credentials.
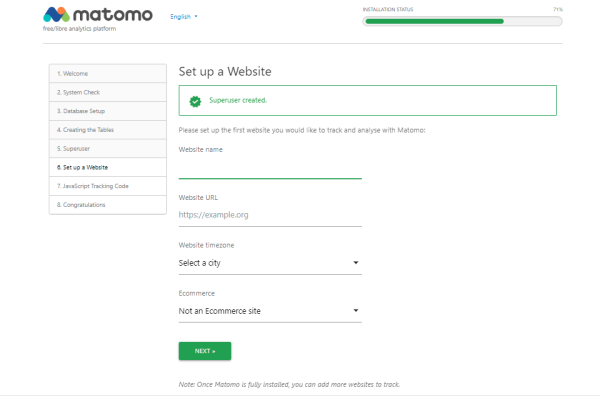
Step 5: You can setup your first website with Matomo
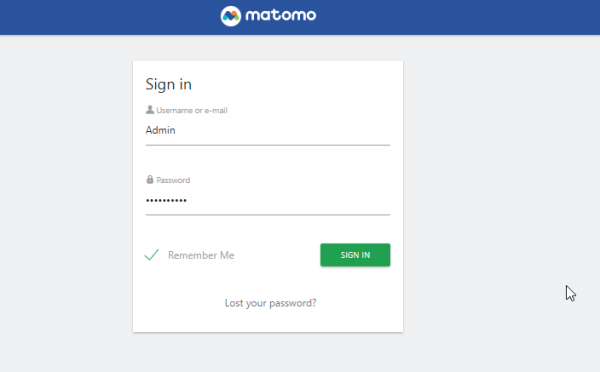
The above steps will complete the setup. Access the site URL again and login with the superuser credentials setup.
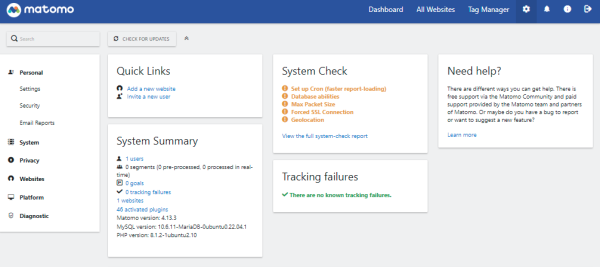
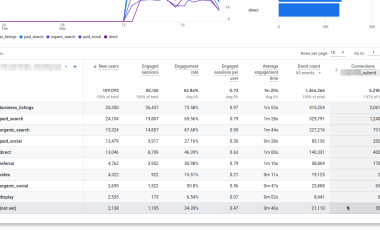
Once the installation is complete, you can set up the tracking code provided on your website, and the data will start flowing into Matomo. If you want to use Matomo for importing data from UA, you need to install the UA importer plugin. Follow this article for the details.
We offer to set up Matomo and enable universal analytics backup as a professional service. Check out our UA to Matomo page for the details.